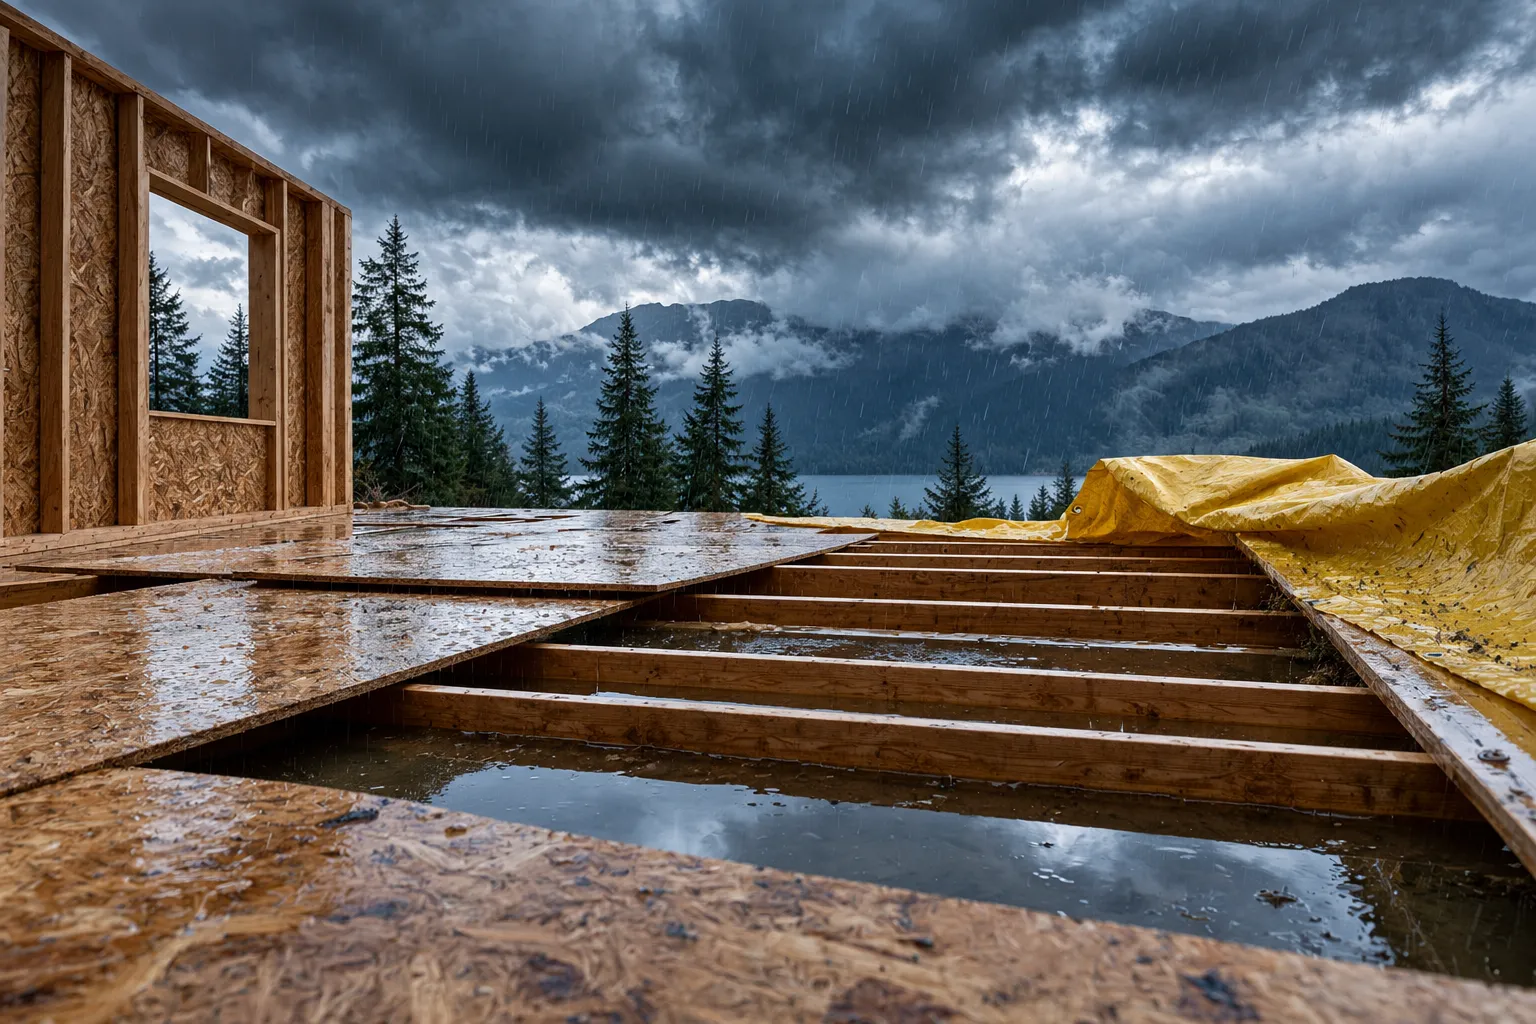
A frost line sitting 24 to 48 inches deep in climate zones 5 through 7 does not negotiate with construction schedules.[4] For off-grid builders working alone, racing the frost to insulate a cabin shell before winter means every measurement, cut, and staple has to count, because there will be no second pass once snow buries the job site. A recent profile of a solo off-grid builder captured exactly this pressure, showing how accurate framing measurements and fast, methodical sealing work are what separate a cabin that survives its first winter from one that doesn’t.[1]
Key Takeaways
- Vapor barriers and exterior or interior insulation should go in before any permanent heat source, preventing condensation rot inside the wall cavity.[2]
- Rockwool and rigid polyisocyanurate panels resist moisture better than standard fiberglass in unconditioned, unheated shells.[6][15]
- Solo builders need bracing techniques and smaller cut panels to safely handle oversized sheathing and batts without a second set of hands.
- October milestones, closed shell, taped air barrier, and roof insulation, determine whether work can continue safely into winter.[4]
- Air sealing and roof insulation alone can cut a small cabin’s heating load by 40 to 60 percent.[3]
Racing the Frost: How to Insulate an Off-Grid Cabin Shell Before Winter Starts With October Milestones
Builders tracking cold-climate construction in 2026 treat early October as a hard checkpoint. Guidance on winter cabin builds recommends padding schedules with a 7 to 21 day contingency for weather and permitting delays, because frost depths of 24 to 48 inches in zones 5 through 7 can halt excavation and footing work almost overnight.[4] Before that happens, the primary air barrier, taped sheathing outside or taped interior gypsum, needs to be complete, since insulation installed over a leaky barrier simply traps moisture instead of blocking cold.[4]
The priority order matters more than speed alone. Floor cavities on piers or crawlspaces should be insulated and air-sealed early, since exposed floors and roofs account for the largest share of heat loss in small structures.[13] Only after the air barrier is taped and the floor is closed should cavity insulation and finish work proceed, roughly in this sequence: floors first, air barrier details next, roof and ceiling R-value after that, then windows, doors, and utility penetrations.[2][3][4][13]
Racing the Frost: How to Insulate an Off-Grid Cabin Shell Before Winter Without a Second Pair of Hands
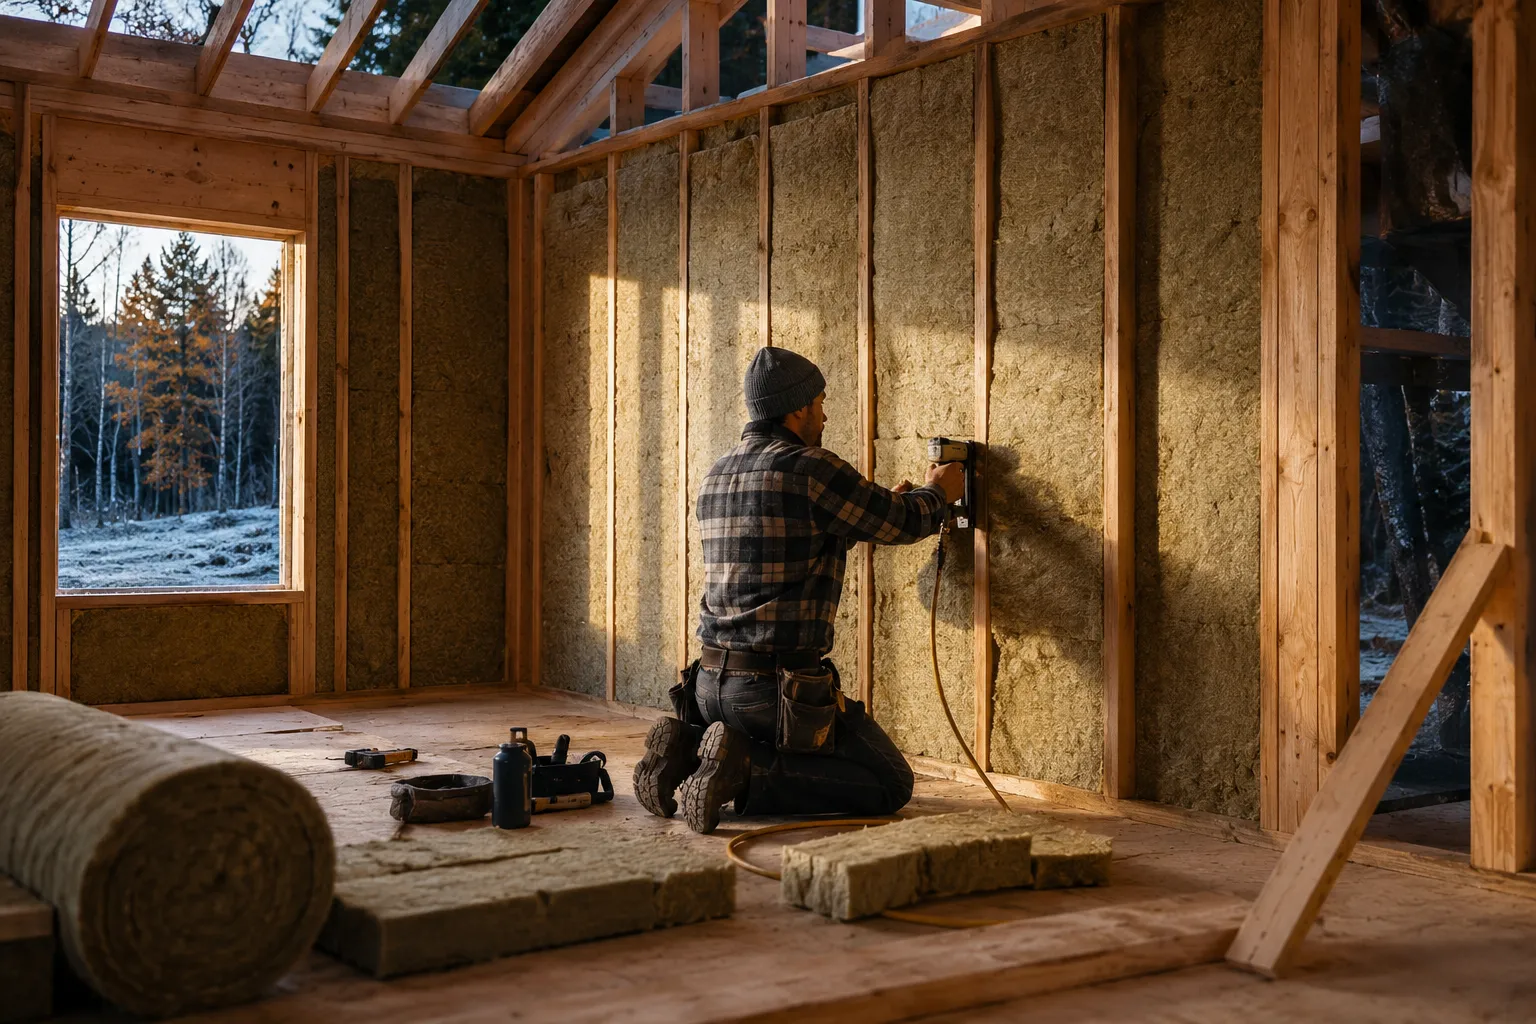
Working solo changes the physical logistics of insulation installation. Oversized rigid foam panels and long fiberglass batts are awkward for one person to lift, square, and fasten simultaneously. Builders handling this alone typically cut panels down to more manageable widths before lifting them into wall bays, using a temporary knee brace or a scrap-lumber ledger screwed below the cavity to hold the panel in place while both hands are free to drive fasteners.
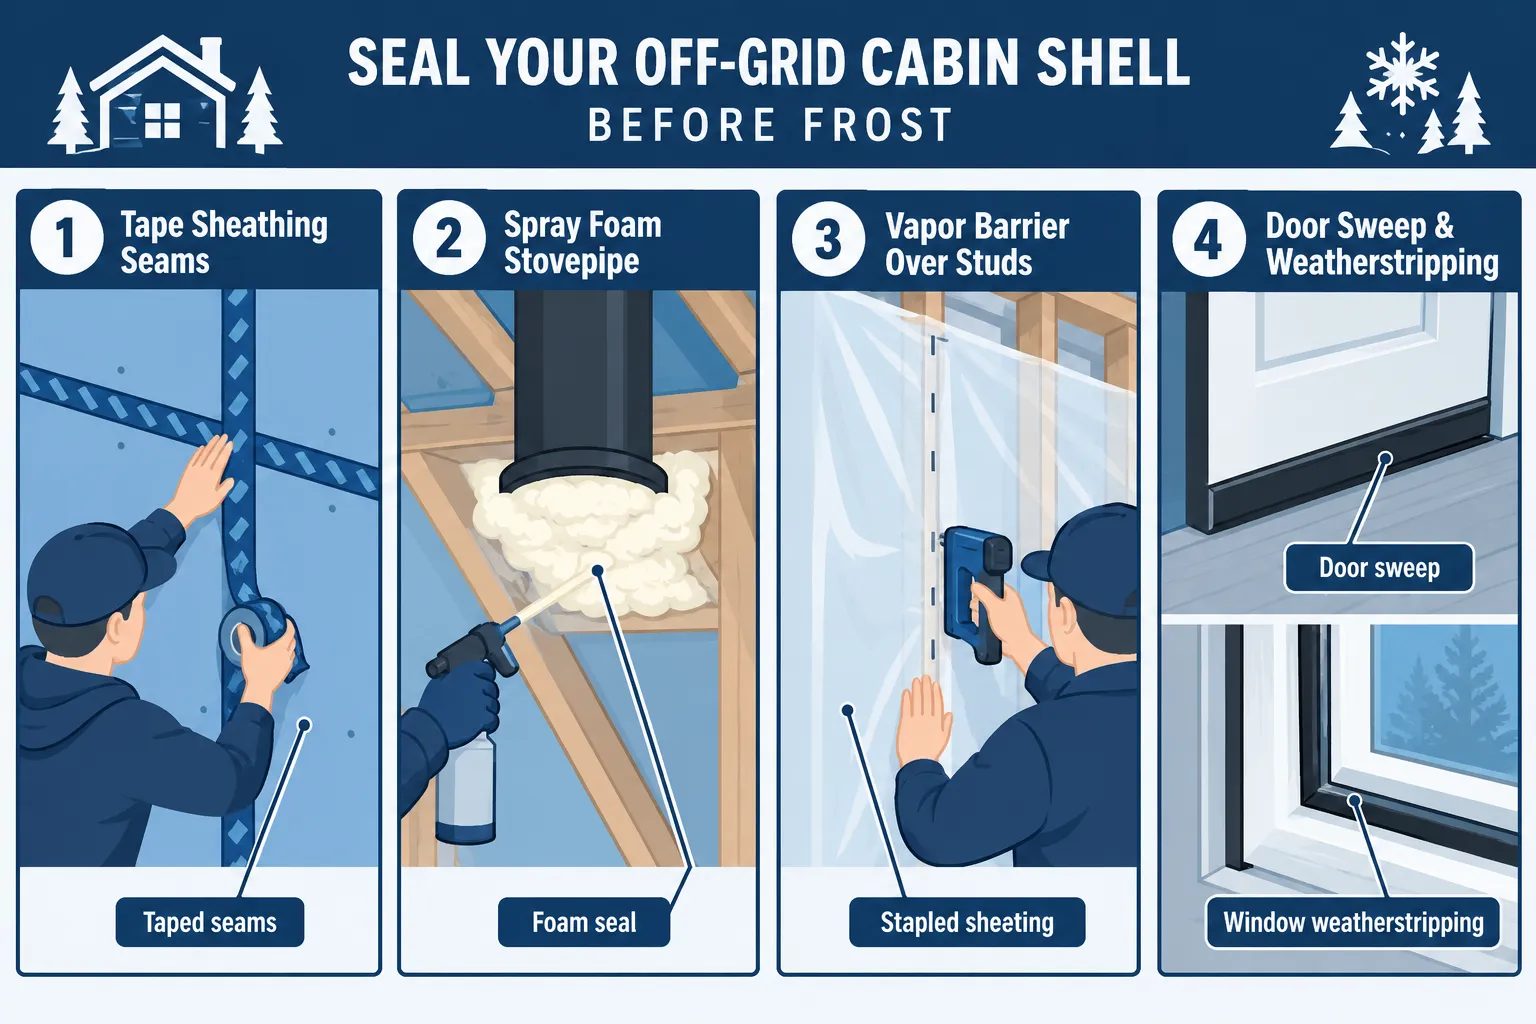
For batts, pre-cutting slightly oversized pieces and compressing them gently into the cavity by hand, rather than wrestling with full-length rolls, reduces gaps that would otherwise require a helper to hold material steady. Spray foam cans are especially useful for a solo crew because they fill irregular cavities and small gaps around studs without needing precise measurement or a second person to stabilize a board.[6] Closed-cell spray foam delivers roughly R-6 to R-7 per inch, making it a practical, one-person solution for rim joists and tight corners where batts or rigid boards don’t fit cleanly.[6]
Choosing Materials and R-Values Before the Shell Closes
Material choice carries more weight in an unconditioned shell than in a finished, heated home. Rockwool and rigid polyisocyanurate panels are favored for off-grid cabins because they tolerate incidental moisture exposure far better than standard fiberglass batts during construction, when the shell is not yet fully weatherproofed.[6][15] Recommended targets for small cold-climate cabins include R-20 to R-40 walls, R-40 to R-60 roofs and ceilings, and R-19 to R-30 floors, with builders in extreme climates like Interior Alaska pushing toward R-60 to R-80 ceilings and R-40 to R-50 walls and floors.[2][3][9]
Continuous exterior insulation, 2 to 3 inches of rigid foam or mineral wool installed outside the framing, interrupts thermal bridging through studs and can lift a wall assembly to R-30 or higher; pairing dense-pack fiberglass with exterior rigid foam can reach close to R-40 in thicker wall systems.[3][8][9] Variable-permeance “smart” vapor membranes are increasingly preferred over fixed poly sheeting because they allow the wall to dry in both directions while still protecting cold sheathing from interior moisture during the shell’s first winter.[15]
Protecting Water Lines While Interior Work Continues
Racing the frost does not stop at the walls. Main water lines need to sit below the local frost line, and any above-ground intake piping should get a closed-cell foam sleeve, since neglected pipe insulation remains a leading cause of mid-winter failures even in otherwise well-insulated cabins.[7] Wrapping exposed pipes in crawlspaces, attics, and exterior walls, and locating the main shutoff valve before freezing weather, rounds out the checklist most winter-prep guides recommend.[12]
Once the shell is sealed, builders can stage interior finishing to continue through winter with temporary heat, provided a blower-door or simple smoke test confirms the air barrier is tight and balanced ventilation, such as an HRV or ERV, is planned to manage moisture.[3]
Racing the frost to insulate an off-grid cabin shell before winter comes down to sequence and discipline: close the air barrier first, prioritize roof and floor insulation, choose moisture-tolerant materials, and protect water lines before temperatures drop below freezing. For solo builders, that means pre-cutting materials, using simple braces instead of a second worker, and treating early October as a non-negotiable deadline. Builders still mid-project should audit their air sealing today, confirm R-value targets for their climate zone, and insulate exposed water lines immediately, waiting even a few weeks can turn a manageable task into a winter emergency.
References
[1] Off Grid Cabin Insulation Winter Seal Solo – https://www.thecooldown.com/green-home/off-grid-cabin-insulation-winter-seal-solo/ [2] Insulating An Off Grid Cabin So It Holds Heat And Stays Cool – https://liveoffthegrid.com/blog/insulating-an-off-grid-cabin-so-it-holds-heat-and-stays-cool [3] Off Grid Cabin Insulation Cold Climate Guide – https://www.diyecohomes.com/blog/off-grid-cabin-insulation-cold-climate-guide [4] Winter Cabin Build Cold Construction Tips – https://www.diyecohomes.com/blog/winter-cabin-build-cold-construction-tips [6] Cabin Insulation And Sealing – https://offgrid.reviews/cabin-insulation-and-sealing/ [7] 8 Supplies For Setting Up An Off Grid Cabin And Outbuildings – https://www.farmstandapp.com/841896/8-supplies-for-setting-up-an-off-grid-cabin-and-outbuildings/ [8] Insulation Off Grid Buildings – https://offgridcollective.co/us/guides/climate/insulation-off-grid-buildings/ [9] Alaska Off Grid Cabin Build – https://akguntrader.com/knowledge-center/alaska-off-grid-cabin-build/ [12] (Cabin winter-prep checklist referenced) – https://liveoffthegrid.com/blog/insulating-an-off-grid-cabin-so-it-holds-heat-and-stays-cool [13] (Off-grid shelters category overview referenced) – https://offgridcollective.co/us/guides/climate/insulation-off-grid-buildings/ [15] (Ultimate guide on vapor membranes referenced) – https://offgrid.reviews/cabin-insulation-and-sealing/